
Website Migration SEO Checklist (2026): Step-by-Step Guide to Avoid Traffic Loss
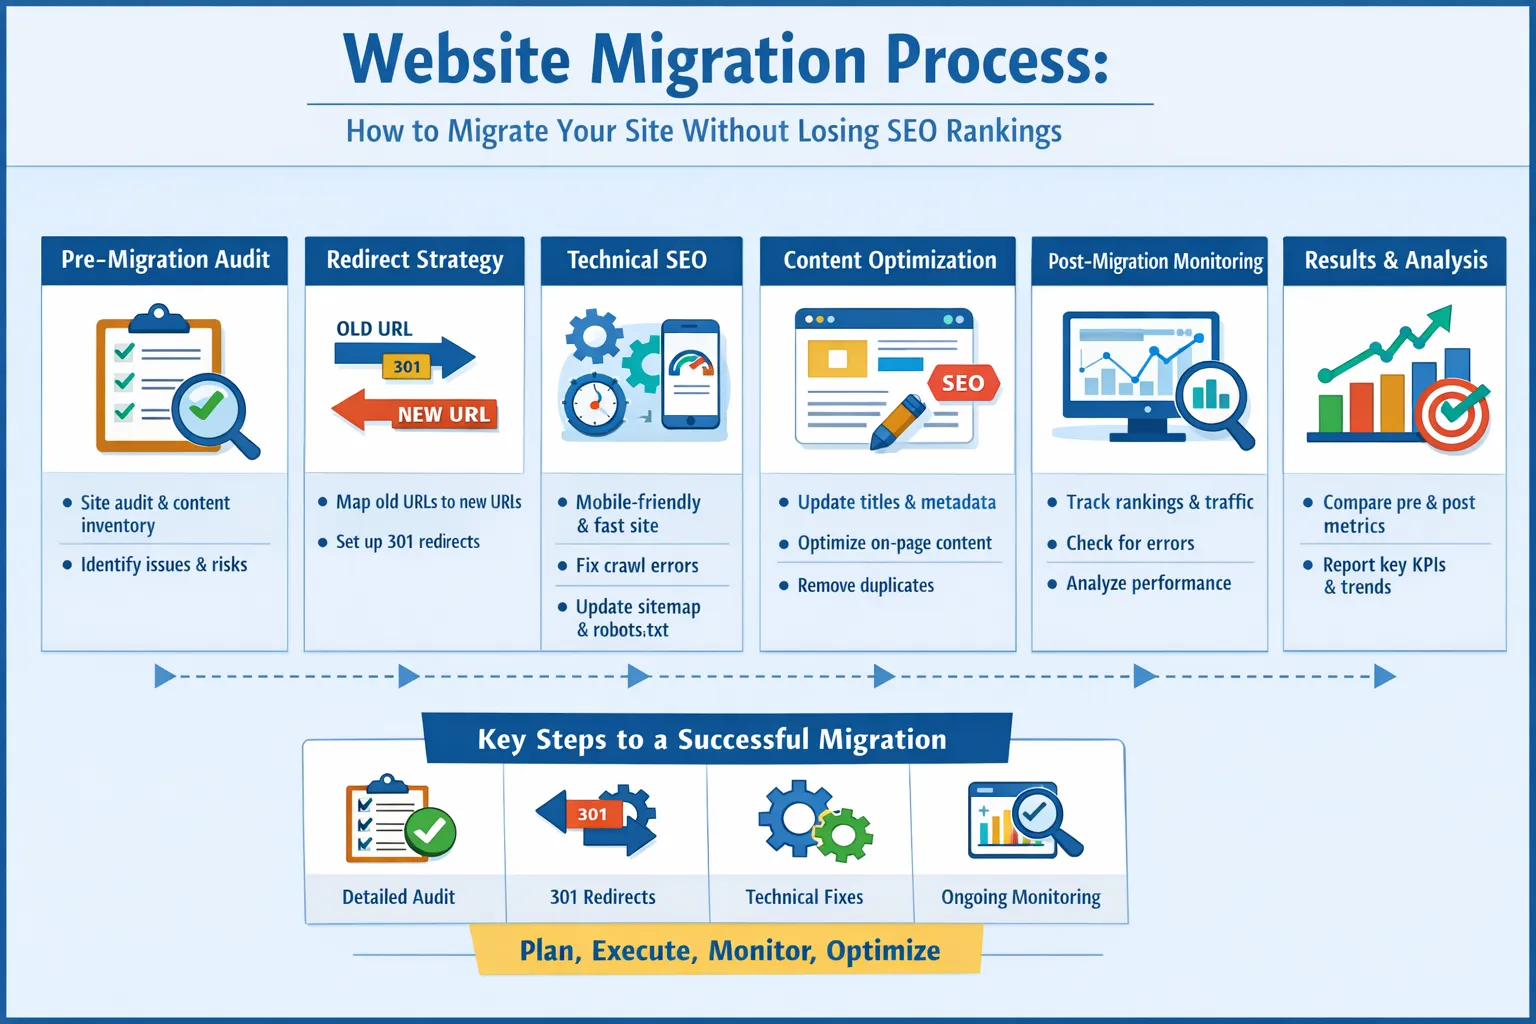
Pre-migration planning is the single most important phase of any SEO-safe website migration. More than 80% of migration-related ranking losses happen because this phase is rushed, skipped, or handled without data.
Before following this checklist, make sure you understand the most common SEO migration mistakes that cause ranking and traffic loss — many happen before migration even begins.
Before a single line of code is changed, URLs are modified, or servers are switched, you must fully understand:
- What currently ranks
- Why it ranks
- Which pages generate traffic, revenue, or leads
- Which technical signals Google already trusts
This phase creates a baseline snapshot of your website’s SEO health. Without it, you are migrating blind.
1. Identify the Type of Website Migration
Not all migrations carry the same level of SEO risk. The first step is identifying exactly what kind of migration you are performing.
Common migration types include:
- Domain migration (example.com → newexample.com)
- URL structure change (/blog/post → /blogs/post)
- CMS migration (WordPress → Webflow, Magento → Shopify)
- Protocol change (HTTP → HTTPS)
- Site redesign (layout + code changes)
- Subdomain ↔ subfolder migration
Each type impacts SEO differently. For example, a CMS migration combined with a URL change is far riskier than a simple design refresh.
Clearly documenting the migration type helps you:
- Estimate risk level
- Allocate testing time correctly
- Avoid unnecessary changes during migration
2. Full Website Crawl & URL Inventory
Before migration, you must extract a complete list of all existing URLs. This URL inventory becomes the backbone for redirect mapping and post-migration validation.
Use professional crawling tools such as:
Export and save the following data:
- All indexable URLs (200 status)
- Redirected URLs (301 / 302)
- 404 and soft-404 pages
- Canonical tags
- Meta titles & meta descriptions
- H1 headings
- Internal link counts
This crawl acts as a pre-migration backup. If rankings drop later, this file is your reference for what existed before launch.
3. Identify High-Value & High-Risk Pages
Not all pages deserve equal attention. Some pages carry the majority of your SEO value.
From Google Search Console and analytics tools, identify:
- Top organic landing pages
- Pages ranking in top 3–10 positions
- Pages with high impressions but low CTR
- Pages generating conversions or leads
These pages should be placed on a “no-compromise list”:
- No content deletion
- No URL changes without 1:1 redirects
- No metadata removal
If these pages break, rankings and traffic will drop immediately.
4. Backlink & Authority Audit
Backlinks are one of the strongest ranking signals. During migration, link equity must be preserved.
Use tools like:
Identify:
- URLs with the highest number of referring domains
- Editorial links from authoritative sites
- Deep links pointing to blog posts or resources
Every URL with backlinks must:
- Remain live, OR
- Be redirected via a clean 301 redirect
Failing to redirect backlink URLs is one of the fastest ways to destroy SEO authority.
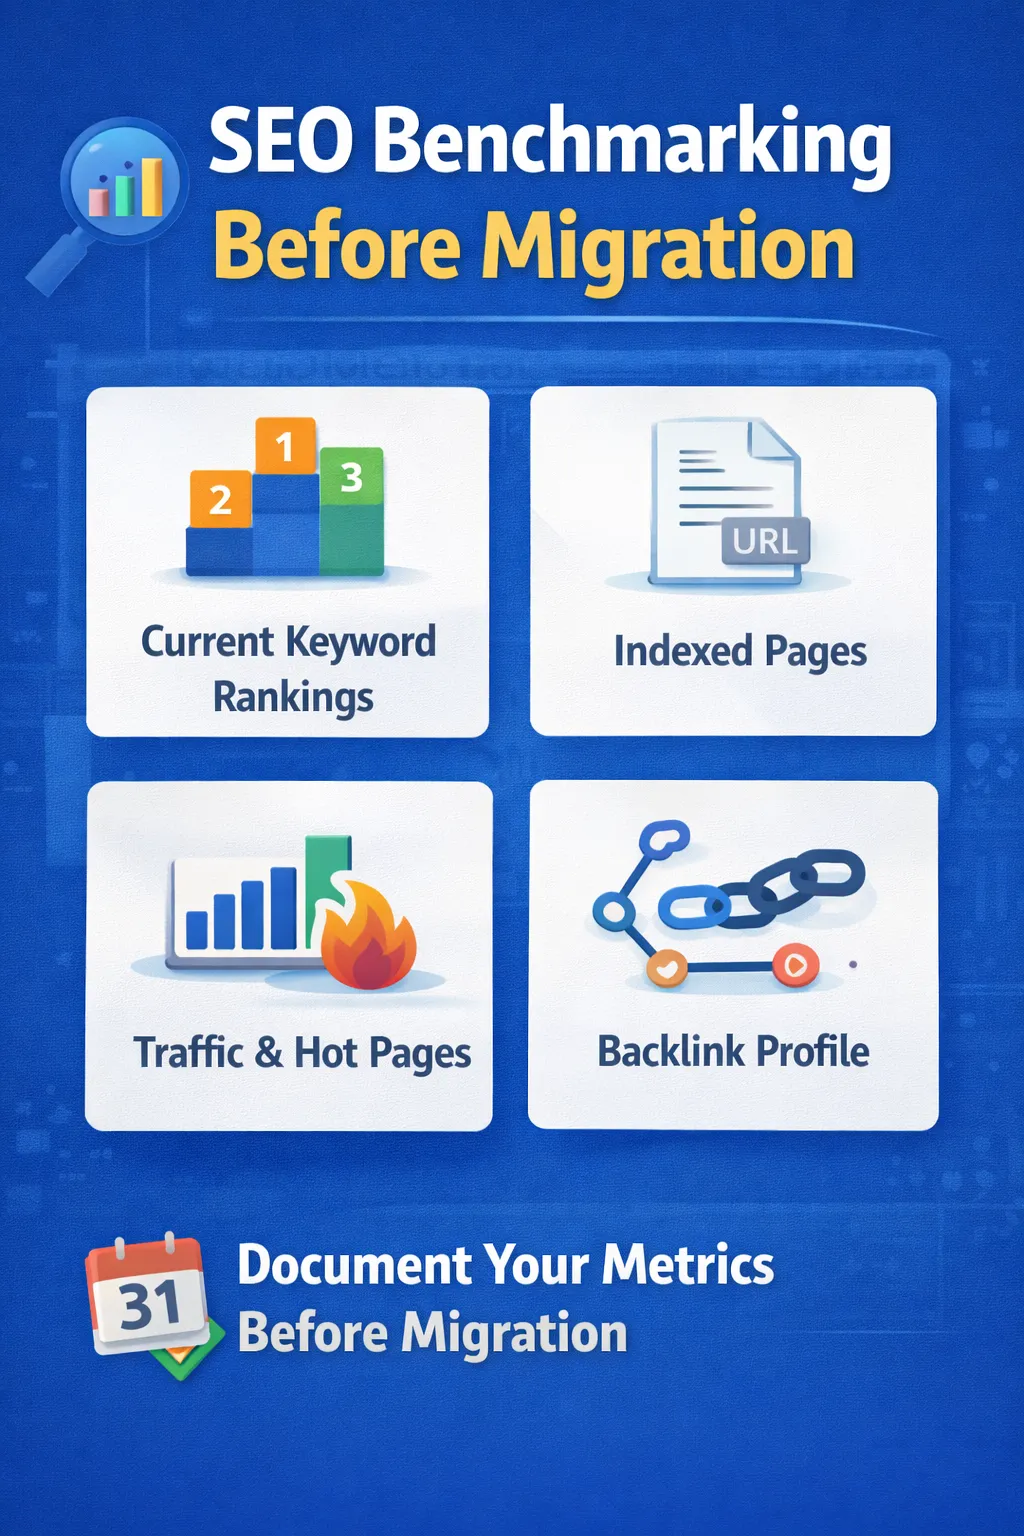
5. Benchmark SEO Performance (Baseline Metrics)
Before migration, record baseline metrics so you can accurately measure post-migration success or failure.
Essential metrics to record:
- Total organic sessions
- Top 50–100 ranking keywords
- Index coverage count
- Click-through rate (CTR)
- Core Web Vitals scores
Export this data and store it securely. After migration, you will compare these benchmarks weekly to detect issues early.
6. Freeze SEO Changes Before Migration
At least 2–3 weeks before migration, stop:
- Publishing new content
- Changing URLs
- Major internal linking updates
This “SEO freeze period” ensures:
- Stable crawl data
- Accurate benchmarks
- No confusion for Googlebot
Any last-minute SEO changes should wait until after post-migration stabilization.
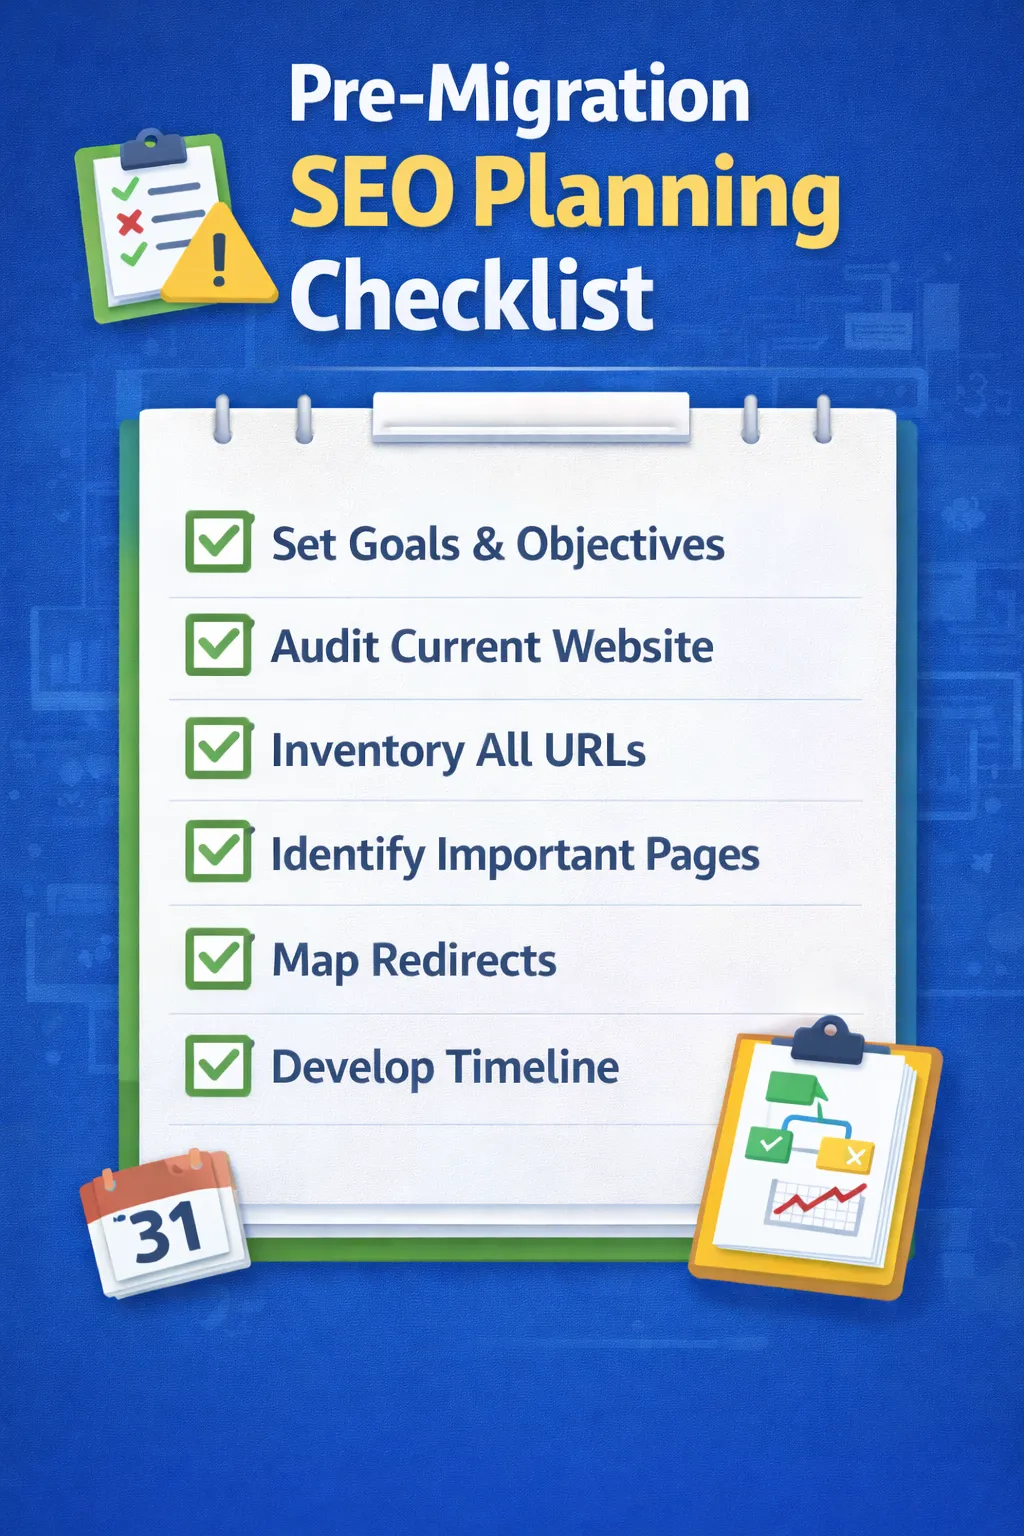
7. Final Pre-Migration Checklist
- ✅ Full site crawl completed
- ✅ URL inventory saved
- ✅ High-value pages identified
- ✅ Backlinks audited
- ✅ Baseline metrics recorded
- ✅ SEO freeze implemented
Only after completing Phase 1 should you proceed to URL mapping and redirect implementation.
Phase 2: URL Mapping & 301 Redirect Strategy (Preserving SEO Authority)
If Phase 1 is about understanding what you have, Phase 2 is about making sure none of that SEO value is lost. This phase focuses on URL mapping, redirect accuracy, and link equity preservation.
More than half of failed website migrations fail for one reason only: incorrect or missing redirects.
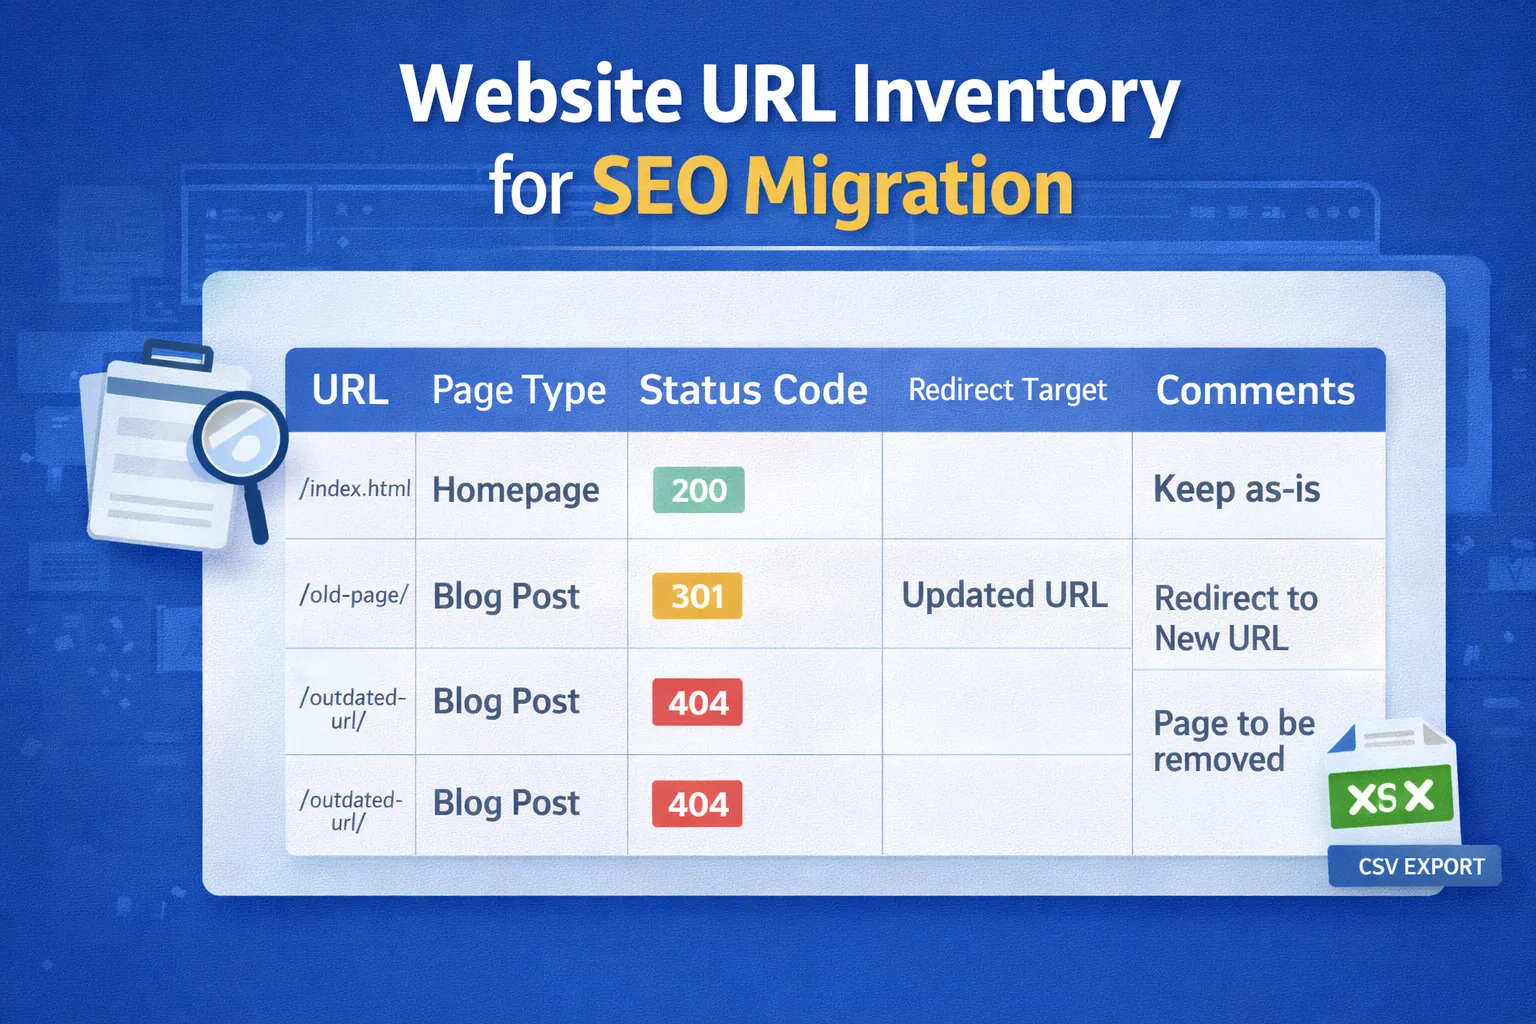
1. Create a One-to-One URL Mapping Document
Every existing URL must be reviewed and mapped before migration. This is done using a dedicated URL mapping spreadsheet.
Your mapping document should include:
- Old URL (current live URL)
- New URL (post-migration destination)
- Redirect type (301 only)
- Page importance (high / medium / low)
- Notes (backlinks, rankings, traffic)
The goal is simple:
- Every old URL must resolve to a relevant new URL
- No redirects should point to irrelevant pages
Redirecting everything to the homepage is one of the most damaging SEO mistakes and often results in permanent ranking loss.
2. Handling Pages Without Direct Replacements
Not every page will have a one-to-one replacement, especially during content consolidation or cleanup.
Best practices:
- If content is merged → redirect to the most relevant consolidated page
- If content is outdated but valuable → update instead of removing
- If content is intentionally removed → return a clean 410 status
Avoid soft 404s. Google expects clarity — either relevance (301) or removal (410).
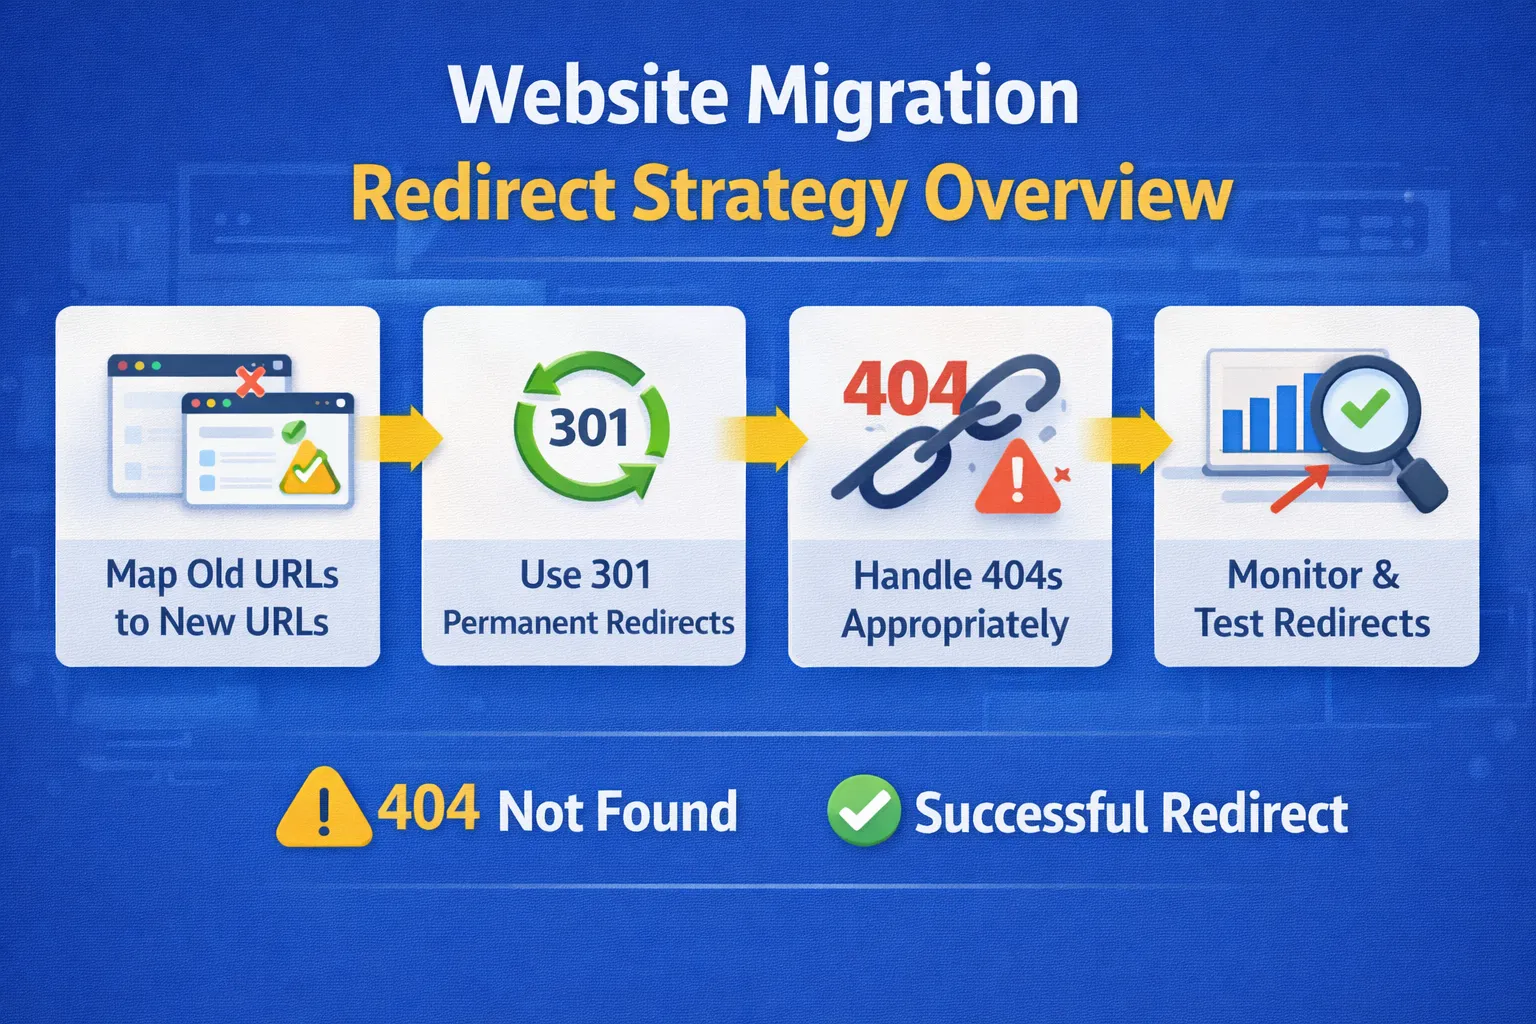
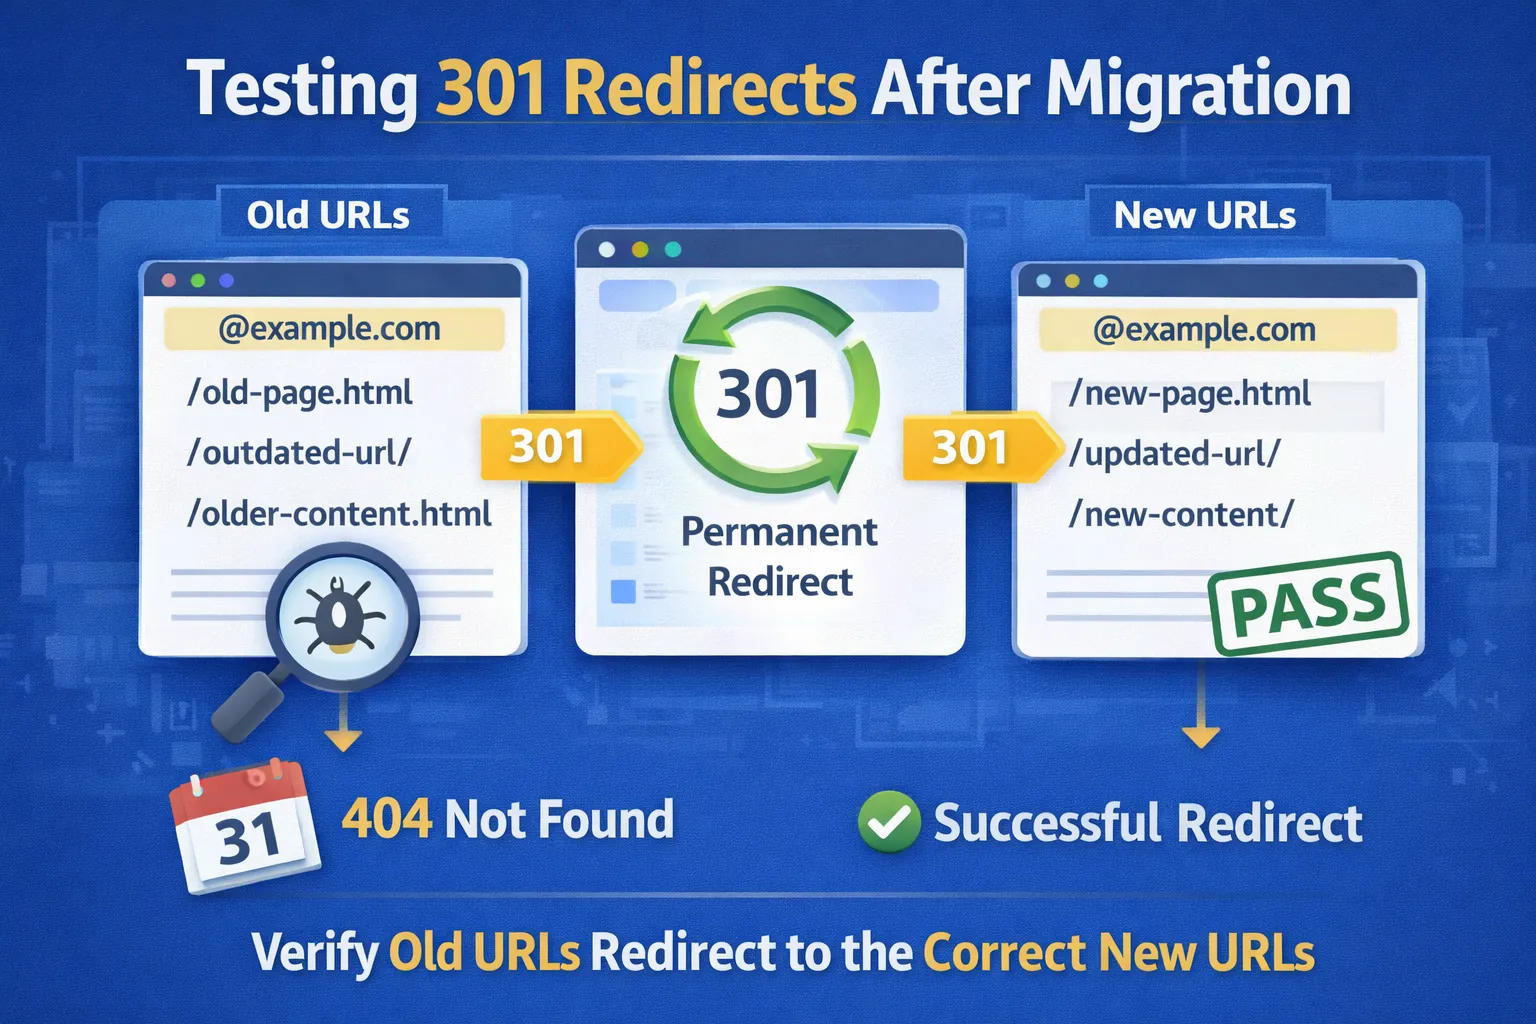
3. Implementing 301 Redirects Correctly
All permanent URL changes must use 301 redirects. These redirects pass the majority of link equity and signal permanence to search engines.
Apache (.htaccess) example:
Redirect 301 /old-page.html /new-page.html
Nginx example:
rewrite ^/old-page.html$ /new-page.html permanent;
Avoid:
- 302 (temporary) redirects
- JavaScript-based redirects
- Meta refresh redirects
Search engines trust server-side 301 redirects the most.
4. Bulk & Regex Redirects (Advanced Migrations)
For large websites with hundreds or thousands of URLs, manual redirects are inefficient. Regex-based redirects allow pattern-level mapping.
Example:
RedirectMatch 301 ^/blog/(.*)$ /blogs/$1
This rule redirects all URLs from /blog/ to /blogs/.
Important precautions:
- Test regex rules in staging first
- Ensure no redirect loops are created
- Confirm final URLs return 200 status
Regex errors can break entire sections of a website if not tested carefully.
5. Avoid Redirect Chains & Loops
A redirect chain occurs when:
- Old URL → Redirect 1 → Redirect 2 → Final URL
Redirect chains waste crawl budget, slow page loading, and weaken link equity.
Best practice:
- Old URL → Final URL (single hop)
Redirect loops (URL A → URL B → URL A) are even worse and can cause pages to drop entirely from the index.
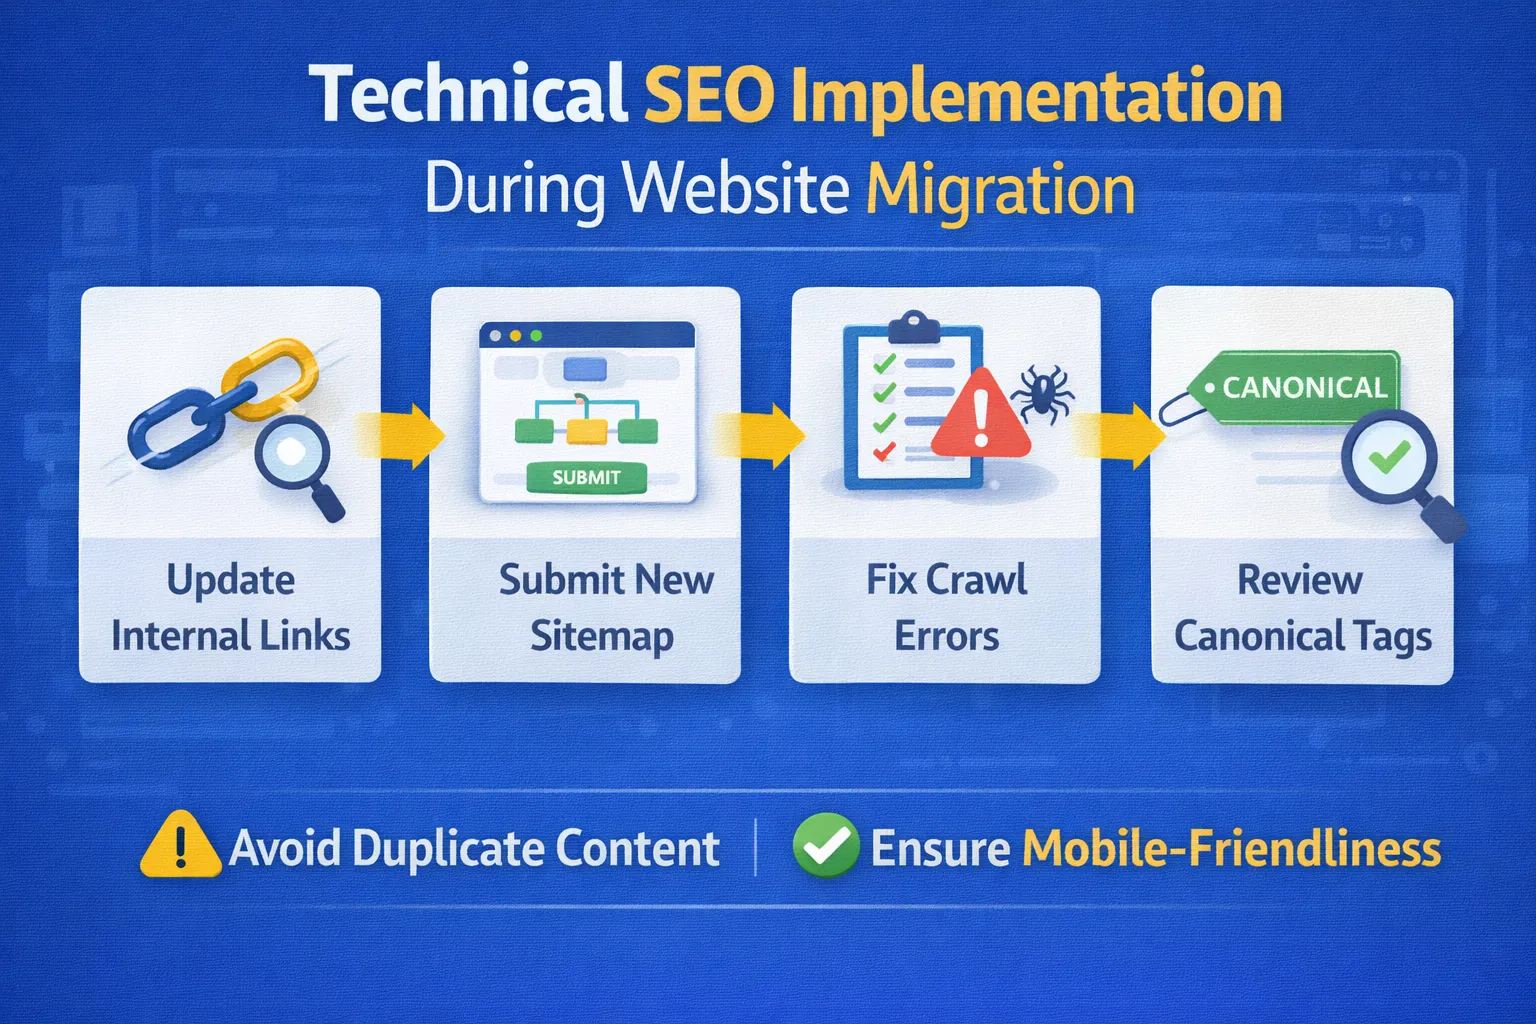
6. Update Internal Links Before Launch
Internal links should never rely on redirects.
Before launch:
- Update all internal links to point directly to new URLs
- Fix navigation, footer, and breadcrumb links
- Ensure contextual links inside content are updated
This improves:
- Crawl efficiency
- User experience
- Link equity distribution
7. Redirect Testing & Validation
Before going live, every redirect must be tested.
Recommended tools:
- Screaming Frog (List Mode)
- Browser redirect extensions
- Server log analysis
Validate that:
- Old URLs return 301
- Final destination returns 200
- No redirect chains exist
Redirect testing should be repeated immediately after launch.
8. Special URL Cases to Handle Carefully
Some URLs require extra attention during migration:
- Paginated URLs
- Filtered or faceted URLs
- Parameter-based URLs
- International or hreflang URLs
Incorrect handling of these URLs can cause:
- Index bloat
- Duplicate content
- Crawl budget waste
If these URLs do not add SEO value, block them using canonical tags or robots directives — not redirects.
9. Phase 2 Final Checklist
- ✅ One-to-one URL mapping completed
- ✅ 301 redirects implemented
- ✅ No redirect chains or loops
- ✅ Internal links updated
- ✅ Redirects tested pre- and post-launch
Once Phase 2 is complete, you are ready to move into technical SEO implementation and index control.
Phase 3: Technical SEO Implementation & Index Control (Making Google Trust the New Site)
Once URL mapping and redirects are in place, the next critical step is ensuring that search engines can crawl, render, index, and understand the migrated website correctly.
Many migrations fail not because of redirects, but because of technical SEO misconfigurations that silently block indexing, confuse canonical signals, or waste crawl budget.
1. Indexing & Crawl Control Validation
Before launch, confirm that your new website is fully crawlable and indexable. This sounds obvious — but accidental indexing blocks are extremely common.
Verify the following:
- No
noindextags on live pages - No password protection on production URLs
- Robots.txt does not block important sections
- Canonical tags point to correct new URLs
A single leftover noindex directive from staging can deindex an entire website within days.
2. Robots.txt Review & Optimization
Your robots.txt file controls how search engines crawl your site. During migration, it must be reviewed carefully.
Best practices:
- Allow crawling of all important directories
- Block only low-value or duplicate URLs
- Reference the correct XML sitemap location
Example:
User-agent: *
Disallow: /wp-admin/
Allow: /
Sitemap: https://digitalskillearnhub.com/sitemap.xml
Never use robots.txt to block URLs that already have backlinks — use redirects or canonicalization instead.
3. XML Sitemap Creation & Submission
An XML sitemap helps search engines discover and prioritize your new URLs faster after migration.
Your sitemap should include only:
- 200 status URLs
- Canonical pages
- Indexable URLs only
Exclude:
- Redirected URLs
- 404 / 410 pages
- Non-canonical variants
Submit the sitemap in Google Search Console immediately after launch.

4. Canonical & Duplicate Content Handling
Migrations often create duplicate URLs due to:
- Trailing slash differences
- HTTP vs HTTPS
- Parameter-based URLs
- Pagination and filters
Each indexable page must have:
- One self-referencing canonical tag
- No conflicting canonical signals
Canonical errors can cause Google to ignore your preferred URL — even if redirects are correct.
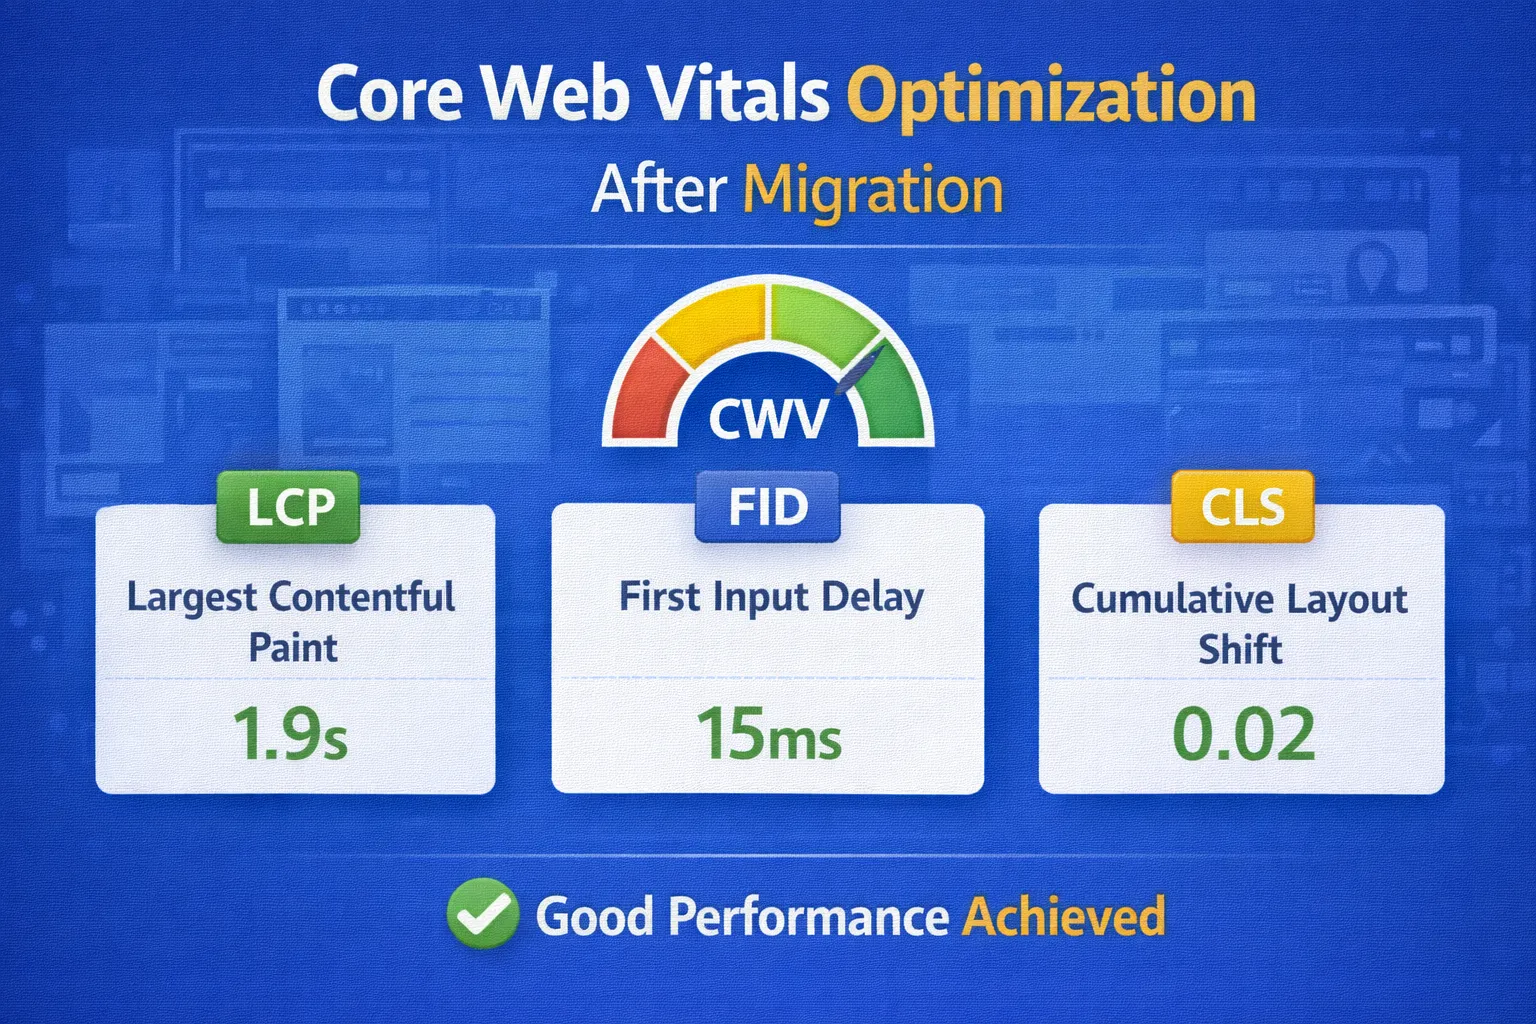
5. Core Web Vitals & Performance Optimization
Google evaluates page experience signals more aggressively on newly migrated websites. Performance issues can delay ranking recovery.
Key metrics to optimize:
- LCP (Largest Contentful Paint): under 2.5 seconds
- CLS (Cumulative Layout Shift): below 0.1
- INP (Interaction to Next Paint): under 200ms
Common fixes:
- Compress and properly size images
- Lazy-load non-critical assets
- Minify CSS and JavaScript
- Use server-side caching and CDN
Test using PageSpeed Insights.
6. JavaScript Rendering & Framework Considerations
If your website uses JavaScript frameworks (React, Vue, Next.js), rendering issues can impact indexing.
Ensure that:
- Critical content is visible in HTML source
- Links are crawlable (not JS-only)
- Lazy-loaded content is indexable
Use Google’s URL Inspection tool to verify rendered HTML matches user-visible content.
7. Structured Data & Schema Validation
Structured data helps search engines understand your content contextually after migration.
Recommended schema types:
- Article / BlogPosting
- FAQPage
- BreadcrumbList
- Organization
Validate using Google’s Rich Results Test.
Incorrect schema won’t cause penalties, but clean schema improves trust and visibility.
8. Crawl Budget Optimization (Large Sites)
For large websites, crawl budget management is essential during migration.
Reduce crawl waste by:
- Blocking infinite filter URLs
- Removing unnecessary parameters
- Fixing internal redirect chains
A cleaner crawl path allows Google to discover important pages faster post-migration.
9. Log File Analysis (Advanced Validation)
Server log analysis shows how Googlebot actually crawls your site after migration.
Look for:
- Old URLs still being crawled
- Redirect errors
- Unnecessary crawl paths
This data helps you prioritize fixes based on real crawler behavior.
10. Phase 3 Final Checklist
- ✅ No indexing blocks present
- ✅ Robots.txt verified
- ✅ XML sitemap submitted
- ✅ Canonical signals clean
- ✅ Core Web Vitals optimized
- ✅ Structured data validated
With technical SEO stabilized, you are ready to move into post-migration monitoring and recovery.
Phase 4: Post-Migration Monitoring, Recovery & Growth Strategy (Turning Stability into Growth)
A website migration does not end at launch. In fact, launch day is when SEO monitoring truly begins.
This phase focuses on detecting issues early, recovering rankings quickly, and using migration momentum to unlock long-term organic growth.
1. Immediate Post-Launch Health Checks (First 72 Hours)
The first 72 hours after migration are critical. Any technical or indexing issues must be identified immediately before search engines fully process the new site.
Check immediately:
- Homepage returns 200 status
- Core templates render correctly
- Navigation and internal links work
- No mass 404 errors appear
Run a full crawl using Screaming Frog or similar tools and compare it against your pre-migration crawl.
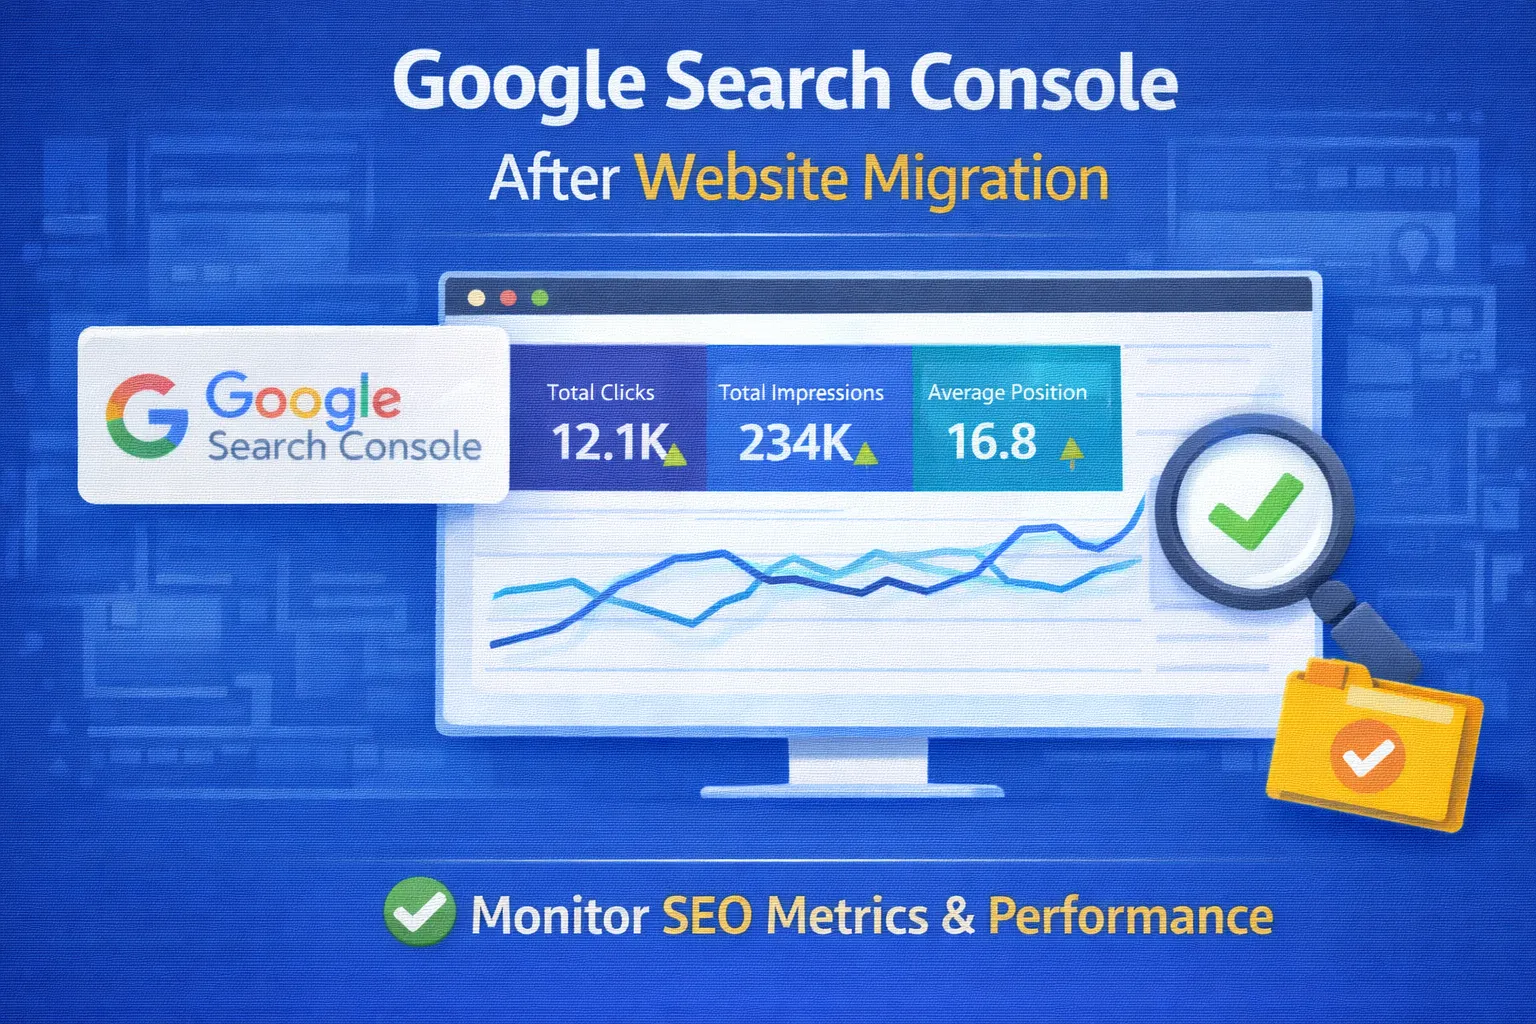
2. Google Search Console Validation
Google Search Console (GSC) is your primary migration monitoring tool.
Key areas to monitor daily:
- Pages → Indexing status
- Redirect and crawl errors
- Submitted vs indexed URLs
- Manual actions or security issues
Temporary fluctuations are normal. Sudden indexing drops or sustained error growth is not.
3. Ranking & Visibility Tracking
Ranking volatility after migration is expected. However, proper migrations usually recover within 2–6 weeks.
Track:
- Primary keywords
- Top traffic-driving URLs
- Branded vs non-branded terms
Use tools such as Ahrefs, SEMrush, or GSC performance reports to identify patterns.
If rankings drop sharply and do not stabilize within 30 days, investigate:
- Redirect accuracy
- Canonical conflicts
- Internal linking dilution
4. Traffic & Engagement Analysis
Traffic recovery is not just about sessions — it’s about user behavior.
Analyze:
- Organic sessions
- Bounce rate changes
- Time on page
- Conversion paths
Improved UX on the new site often leads to higher engagement even if traffic temporarily dips.
5. Fixing Post-Migration SEO Gaps
Post-migration audits often reveal gaps that were hidden before.
Common fixes:
- Restore lost internal links
- Rebuild broken backlinks via redirects
- Improve thin or merged content
- Strengthen topical relevance
These fixes accelerate ranking recovery and improve long-term performance.
6. Content Consolidation & Optimization
Migration is the perfect opportunity to strengthen content authority.
Actions to take:
- Merge overlapping articles into pillar pages
- Expand thin content
- Update outdated information
- Add internal links to high-authority pages
Google rewards websites that improve quality during migrations.
7. Backlink Monitoring & Recovery
Backlinks are often overlooked after migration.
Steps:
- Monitor backlink reports for broken links
- Ensure redirected URLs pass equity correctly
- Reach out to high-value sites for link updates
Even a small number of lost high-authority links can impact rankings.
8. When to Use Paid Traffic (Google Ads) Post-Migration
Paid traffic can support organic recovery — but timing matters.
Use Google Ads when:
- Technical SEO is stable
- Landing pages load fast
- Conversion tracking is accurate
Ads help:
- Maintain visibility during organic recovery
- Test new landing pages
- Generate early conversion data
Avoid heavy ad spend until indexing and crawl issues are resolved.
9. Scaling Organic Growth After Recovery
Once rankings stabilize, shift focus from recovery to growth.
Growth strategies:
- Publish long-form pillar content
- Build topical clusters
- Strengthen internal linking
- Improve E-E-A-T signals
A successful migration should position your website stronger than before — not just equal.
10. Phase 4 Final Checklist
- ✅ GSC monitored daily
- ✅ Rankings tracked and stabilized
- ✅ Traffic and engagement analyzed
- ✅ Content optimized
- ✅ Backlinks protected
With Phase 4 complete, your website migration is not just safe — it is built for scalable growth.
Frequently Asked Questions (FAQs)
1. What is a website migration in SEO?
A website migration in SEO refers to major changes such as domain changes, URL restructuring, CMS changes, or redesigns that can impact search engine visibility if not managed properly.
2. Why do websites lose rankings after migration?
Rankings drop due to missing redirects, crawl blocks, lost internal links, incorrect canonicals, or improper indexation during migration.
3. How long does SEO recovery take after migration?
SEO recovery typically takes 2–6 weeks, depending on site size, crawl frequency, and correct implementation of redirects and technical fixes.
4. Is website migration risky for organic traffic?
Yes, but risk is minimized when SEO audits, redirect mapping, and post-migration monitoring are done correctly.
5. Which migration types impact SEO the most?
Domain changes, URL structure changes, HTTPS migrations, and CMS changes have the highest SEO impact.
6. Why is a pre-migration SEO audit important?
Audit identifies high-value pages, backlinks, rankings, and technical issues that must be preserved during migration.
7. What data should be collected before migration?
URLs, rankings, traffic, backlinks, internal links, metadata, sitemap, and crawl reports should be exported.
8. How do I find high-value pages before migration?
Use Google Analytics and Search Console to identify pages with high traffic, conversions, and backlinks.
9. Should low-performing pages be migrated?
No. Thin or obsolete pages should be merged, improved, or removed to improve overall site quality.
10. Best tools for pre-migration SEO analysis?
Screaming Frog, Ahrefs, Google Search Console, Google Analytics, and PageSpeed Insights.
11. What is URL mapping in SEO migration?
URL mapping connects old URLs to their most relevant new URLs to preserve rankings and link equity.
12. Are 301 redirects mandatory?
Yes. 301 redirects transfer authority and prevent 404 errors after migration.
13. What happens if redirects are missing?
Missing redirects cause traffic loss, broken backlinks, crawl errors, and ranking drops.
14. Can redirecting everything to homepage hurt SEO?
Yes. Mass homepage redirects confuse Google and result in loss of page-level relevance.
15. How to handle pages without replacements?
Redirect them to the closest relevant category page or serve a proper 410 status if obsolete.
16. How do I prevent deindexing after migration?
Ensure indexable pages, correct robots.txt rules, updated sitemaps, and working redirects.
17. What role does robots.txt play?
Robots.txt controls crawl access. Blocking important sections can cause massive SEO loss.
18. Should I submit a new XML sitemap?
Yes. Submit updated sitemaps immediately after migration via Google Search Console.
19. How do canonical tags affect migration?
Incorrect canonicals can cause duplicate content or wrong URLs ranking instead of intended pages.
20. Do Core Web Vitals affect migration SEO?
Yes. Performance issues can slow recovery and reduce rankings post-migration.
21. What should I monitor after migration?
Index coverage, crawl errors, rankings, traffic trends, and redirect health.
22. How do I track SEO performance post-migration?
Use Google Search Console, GA4, rank trackers, and weekly crawl audits.
23. Are ranking fluctuations normal?
Yes. Temporary fluctuations are expected during re-indexing.
24. How do I fix traffic drops?
Audit redirects, fix crawl errors, improve internal linking, and resubmit sitemaps.
25. How long should redirects stay active?
At least 12–18 months, preferably permanently.
26. Can I run Google Ads after migration?
Yes, once pages are live, indexed, fast, and compliant with Google Ads policies.
27. Do Google Ads affect organic SEO?
No direct impact, but ads can improve engagement signals.
28. How does migration help long-term SEO?
It improves site structure, speed, content quality, and crawl efficiency.
29. When should content optimization be done?
After rankings stabilize, usually 2–4 weeks post-migration.
30. Biggest SEO mistakes during migration?
Missing redirects, blocked indexing, lost analytics, duplicate content, and poor testing.
Conclusion: A Proven Framework for SEO-Safe Website Migration
Website migration does not have to mean lost rankings, broken traffic, or revenue decline. When handled strategically, migration can become a powerful growth opportunity rather than an SEO risk.
In this complete guide, we covered every phase of a successful SEO migration — from pre-migration audits and URL mapping to technical SEO execution, post-launch monitoring, and long-term optimization. Each phase plays a critical role in protecting search visibility and accelerating recovery.
The key takeaway is simple: SEO migration is a process, not an event. Success depends on preparation, precision, testing, and continuous monitoring. Missing even one step — such as redirects, indexing checks, or internal linking — can undo months or years of SEO equity.
By following this framework, businesses can confidently migrate websites while maintaining rankings, preserving backlinks, improving performance, and positioning themselves for sustainable organic growth.
If you are planning a website redesign, CMS switch, domain change, or structural update, this migration blueprint provides everything needed to execute safely and effectively.
Related SEO Guides & Resources
Website Migration SEO – Topic Cluster Plan
| Cluster Type | Article Title | Internal Link Anchor |
|---|---|---|
| Pillar | Website Migration SEO: Complete Guide (2026) | Website Migration SEO Guide |
| Supporting | Website Migration SEO Checklist | SEO migration checklist |
| Supporting | Common SEO Migration Mistakes to Avoid | SEO migration mistakes |
| Supporting | Technical SEO Audit Checklist | technical SEO audit |
| Supporting | How to Fix Technical SEO Issues | fix technical SEO issues |
| Supporting | Site Migration SEO Best Practices | migration best practices |
| Supporting | 301 Redirect Strategy for SEO | 301 redirect strategy |
| Supporting | Post-Migration SEO Monitoring Guide | post-migration SEO |
Google Ads & Policy Compliance Notes
This page follows Google Ads and organic policy best practices by ensuring:
- Clear navigation and transparent business identity
- Original, educational, and expert-level content
- No misleading claims or exaggerated guarantees
- Fast-loading, mobile-friendly design
- Clear contact and service information
All outbound links reference authoritative SEO tools and Google documentation. No prohibited content, clickbait, or deceptive practices are used.